Booms work together with the rigging and masts to hold your sails up and without these essential parts you cannot sail. Here is what happened to our main sail boom.
Cracks in the boom images/boom/ob.jpg
When the boat was bought back in 2017 the middle sheet attachment on the boom was 'different'. A few Super Maramu's I saw also had this arrangement so it seemed fine.

Cracks in the boom images/boom/ob1.jpg
A factory original SM has 3 equal plates
Cracks in the boom images/boom/ob2.jpg
A 54 has a combined plate for the sheet

But read on and please learn from my mistakes!

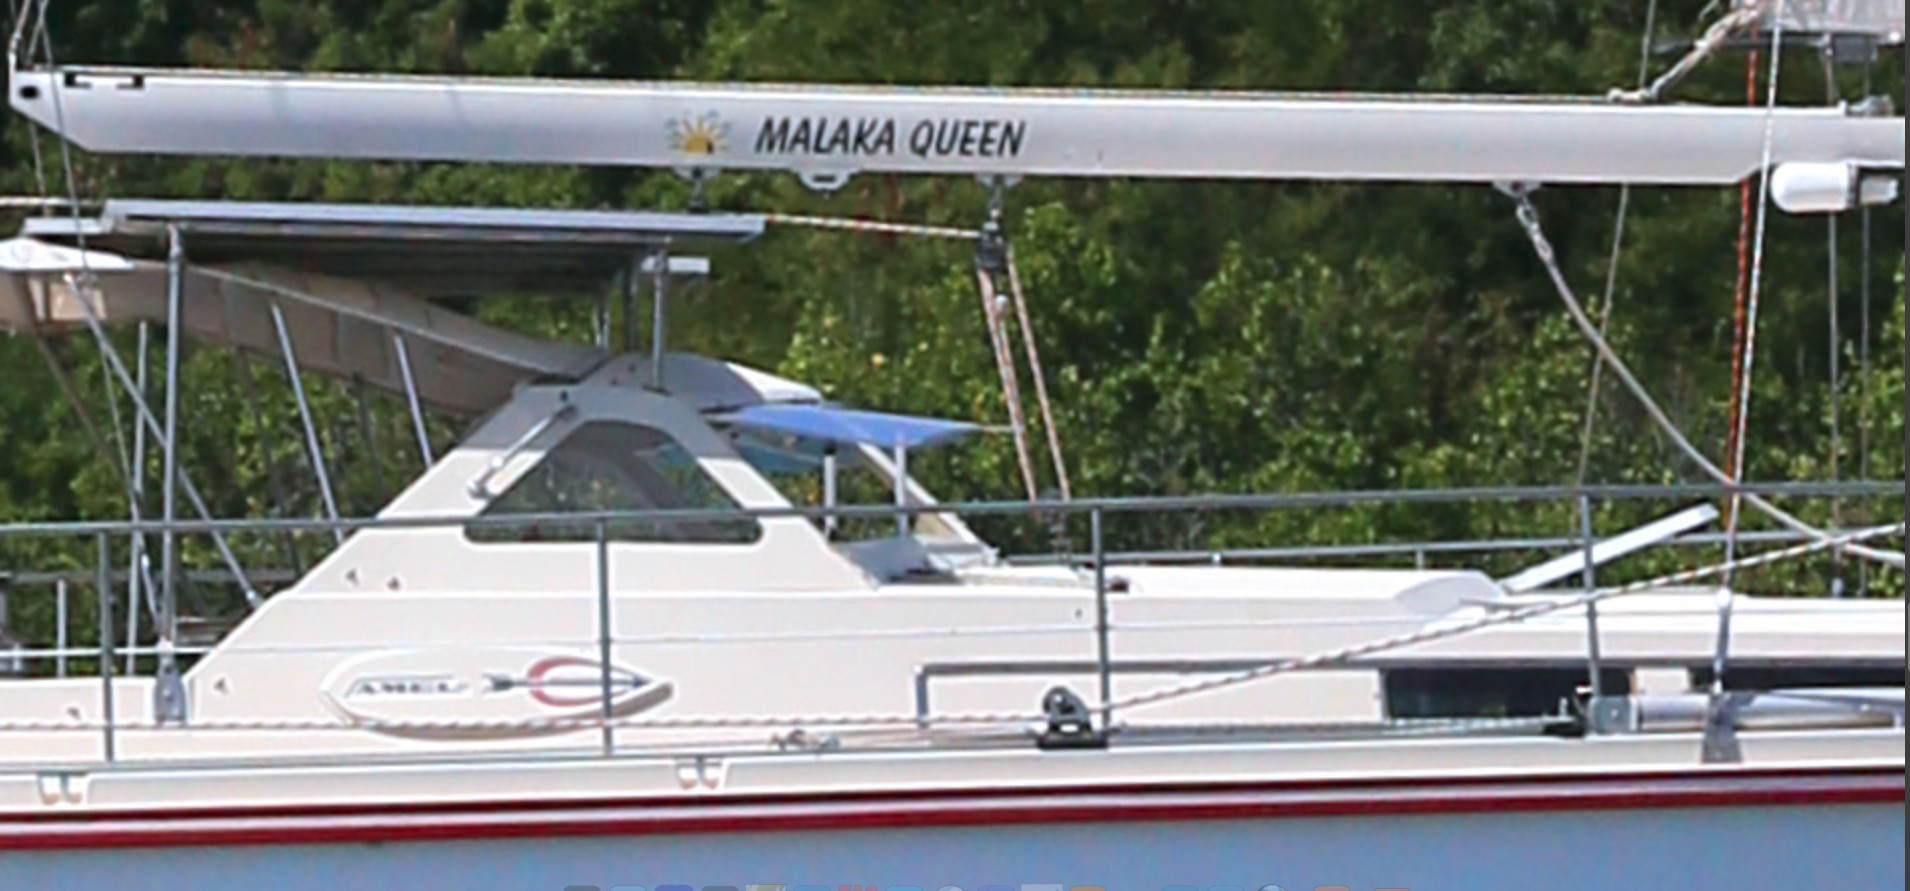
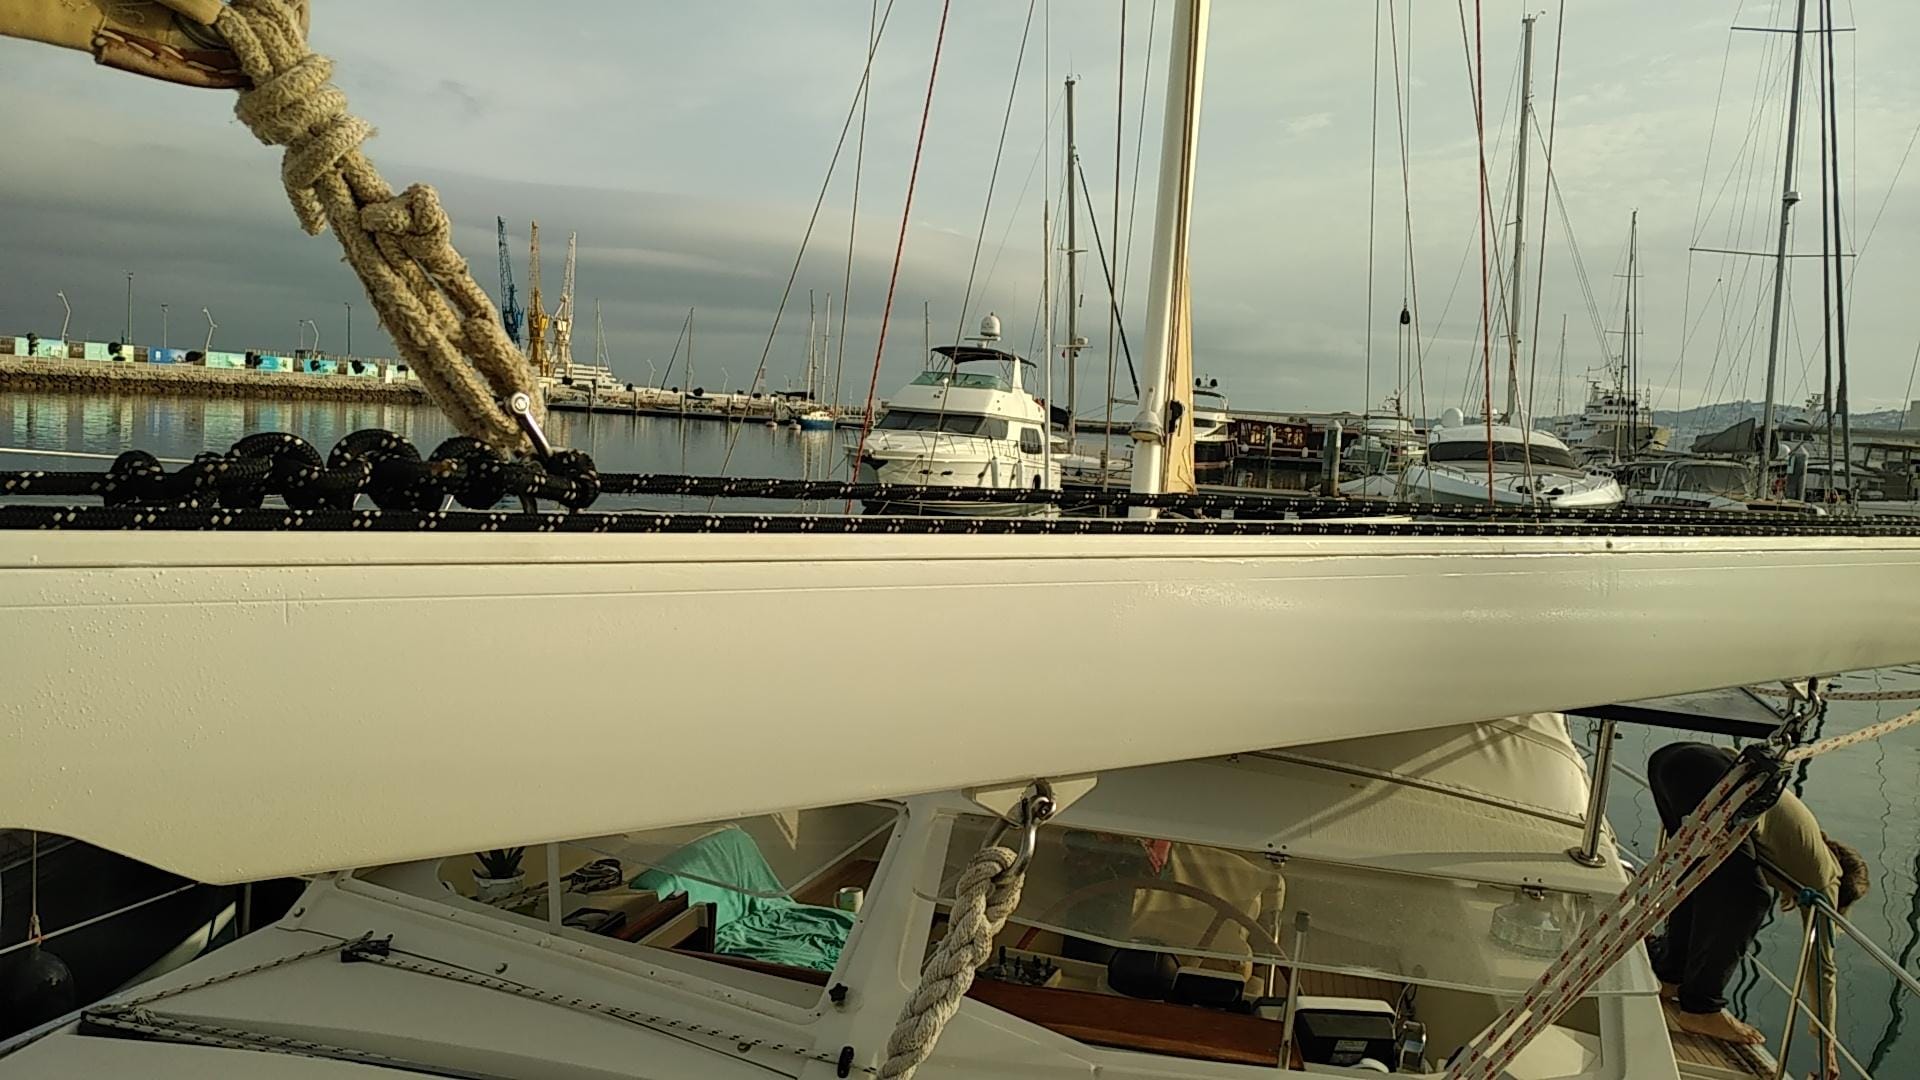
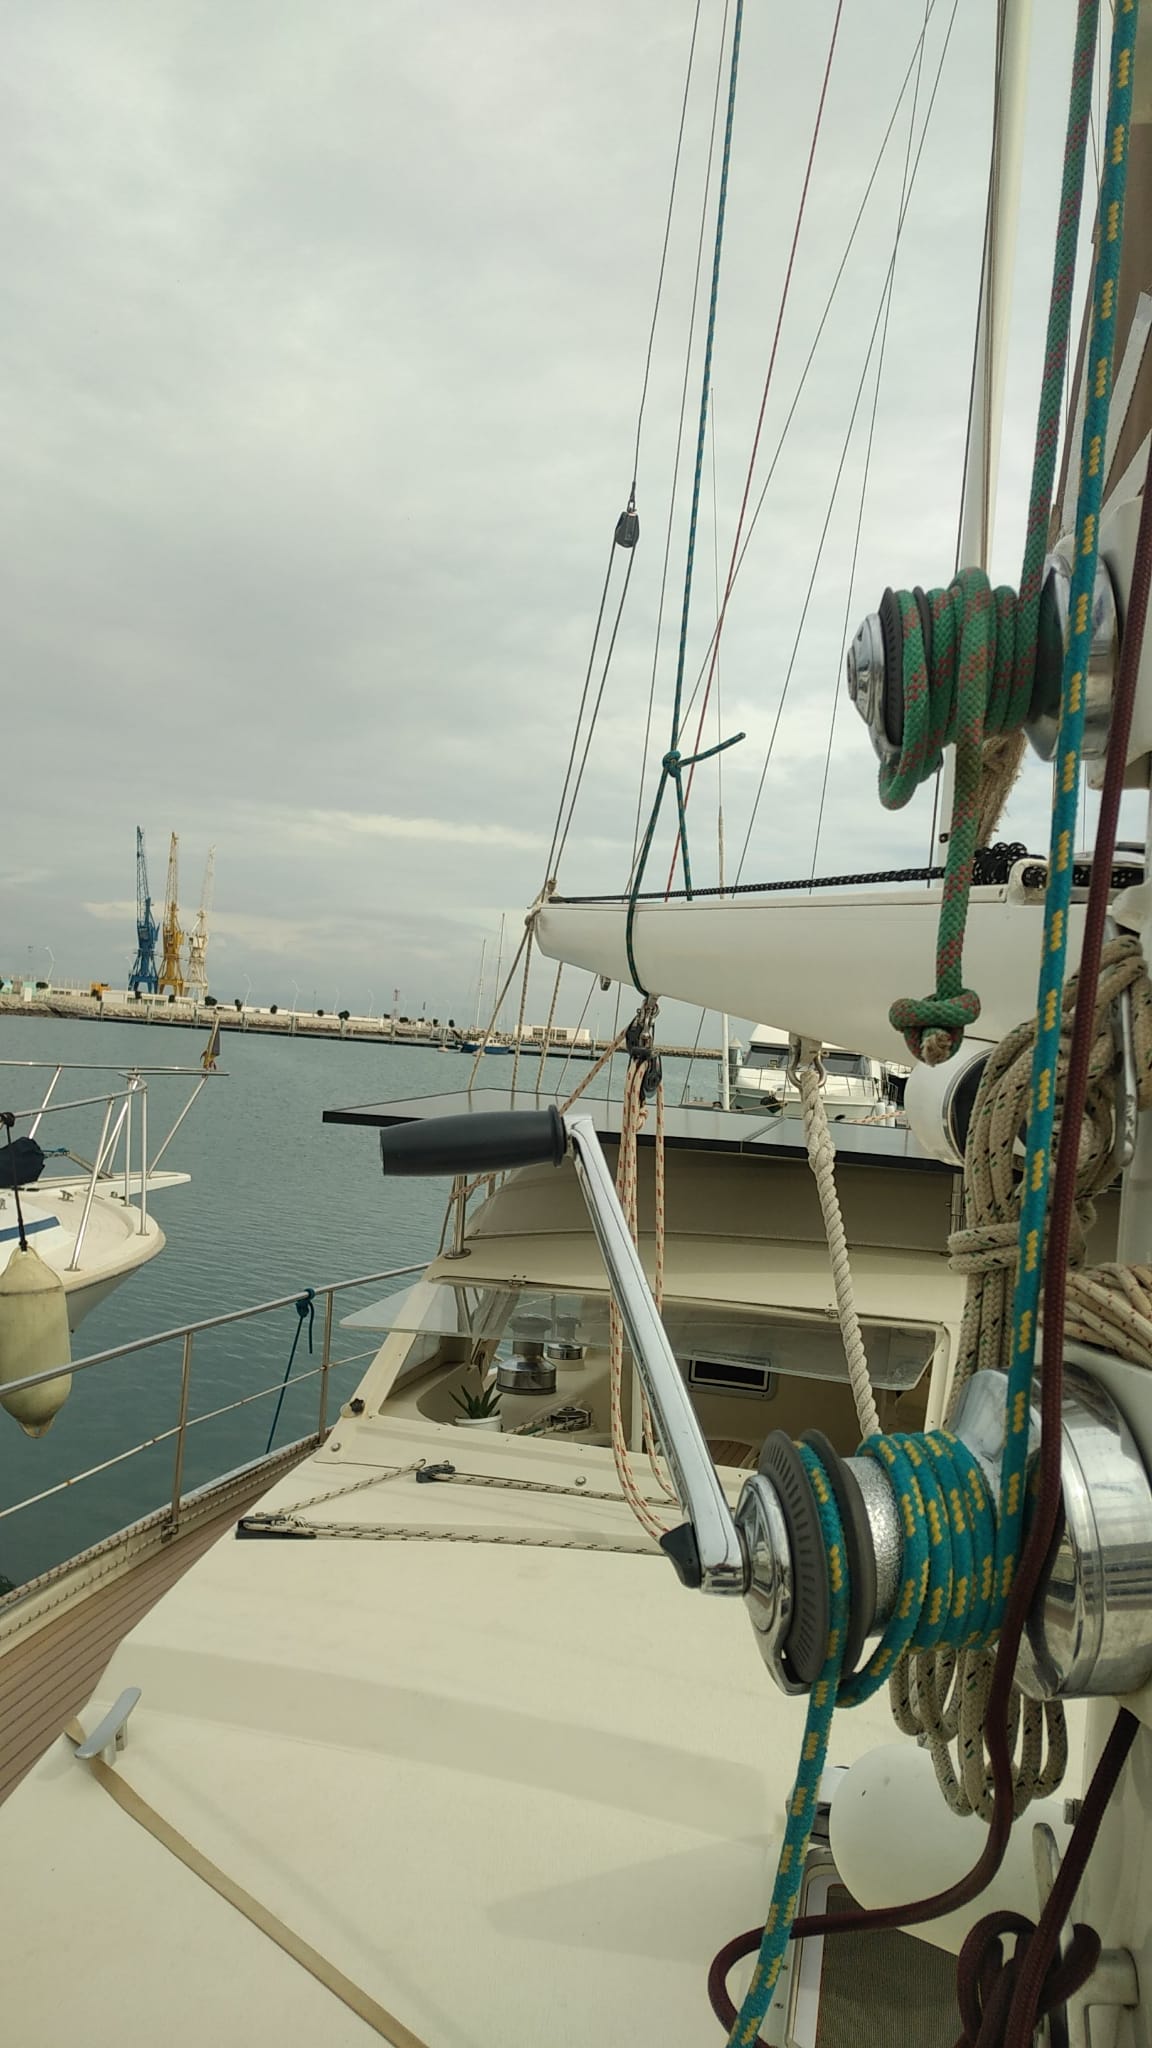
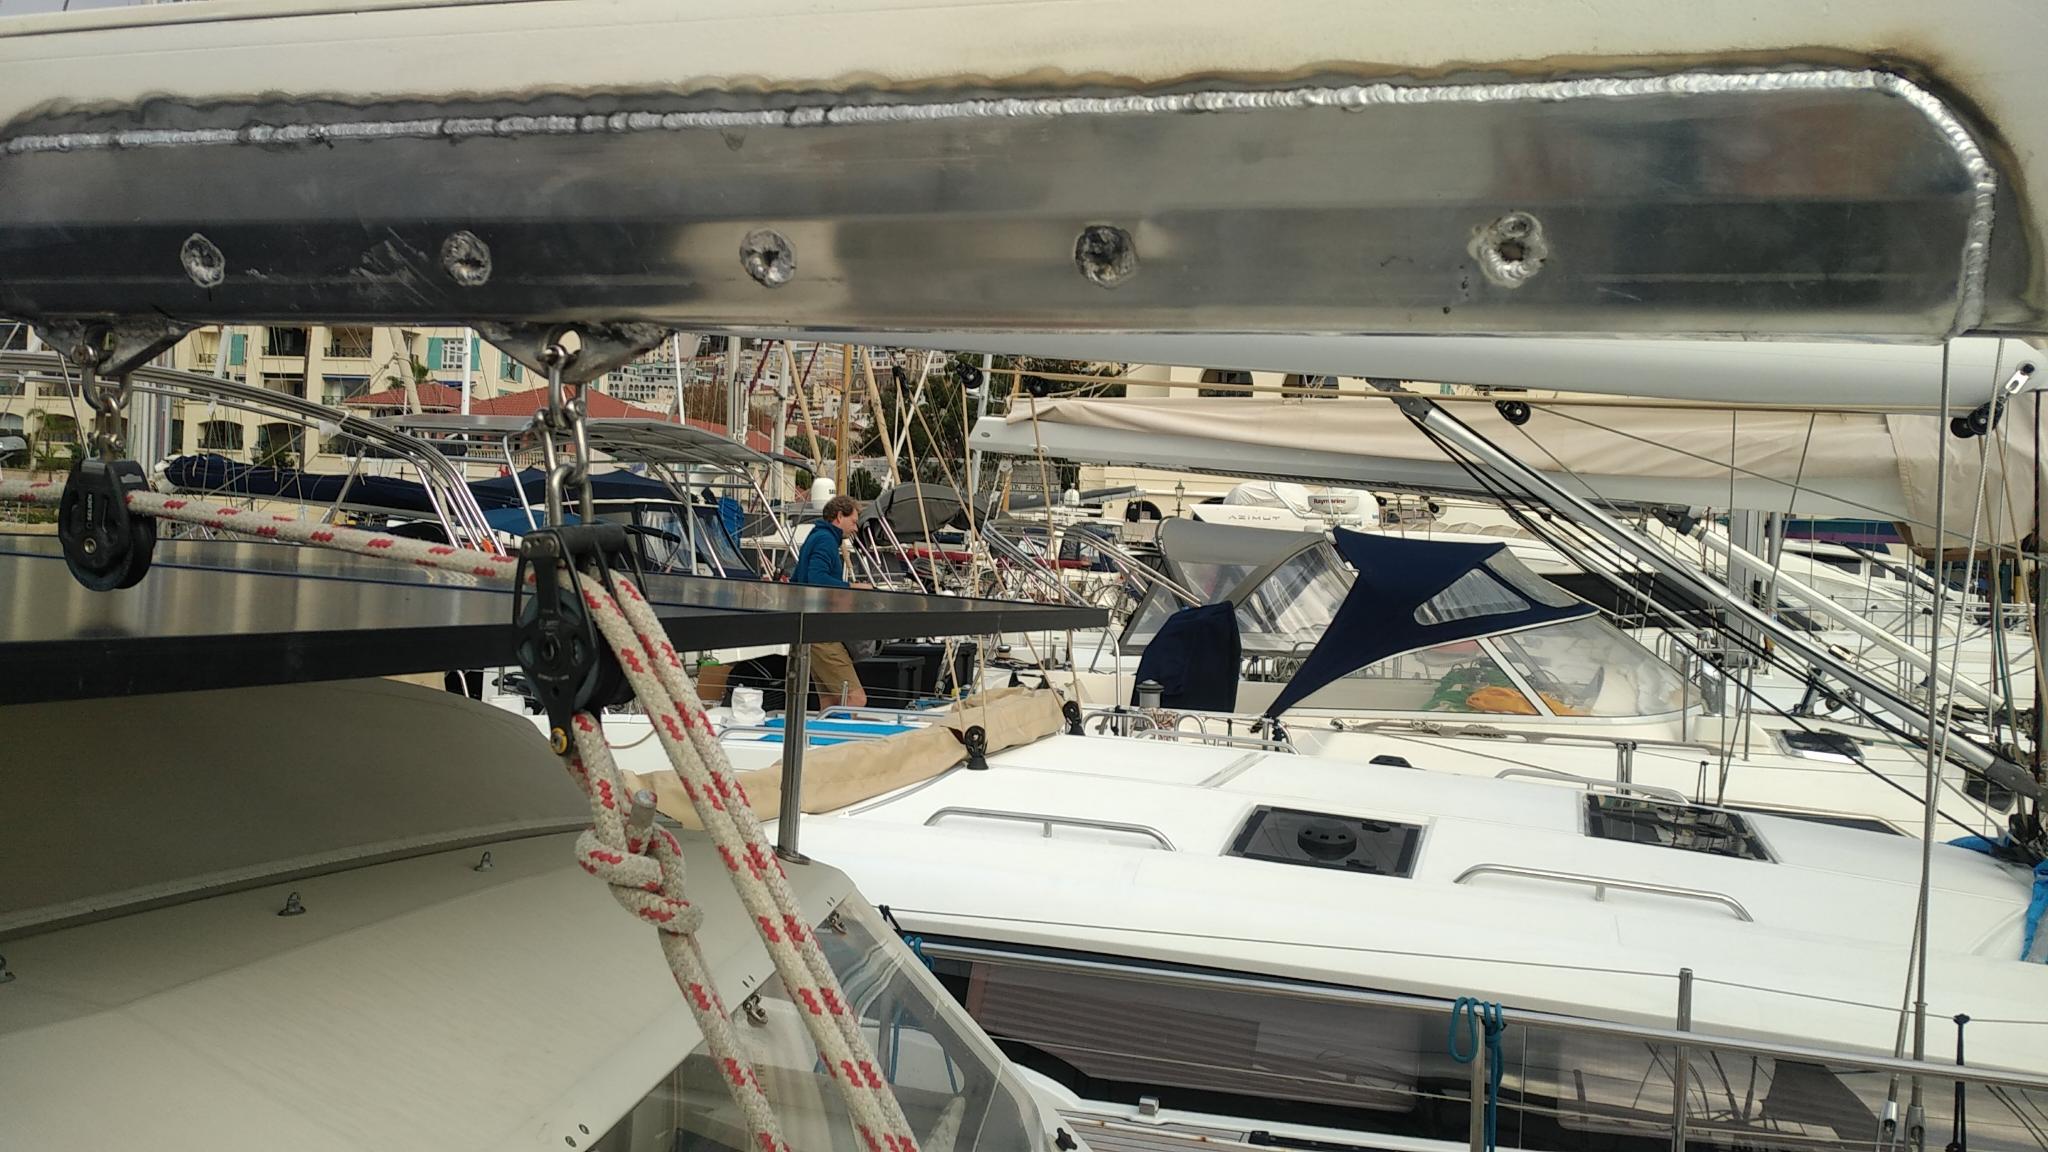
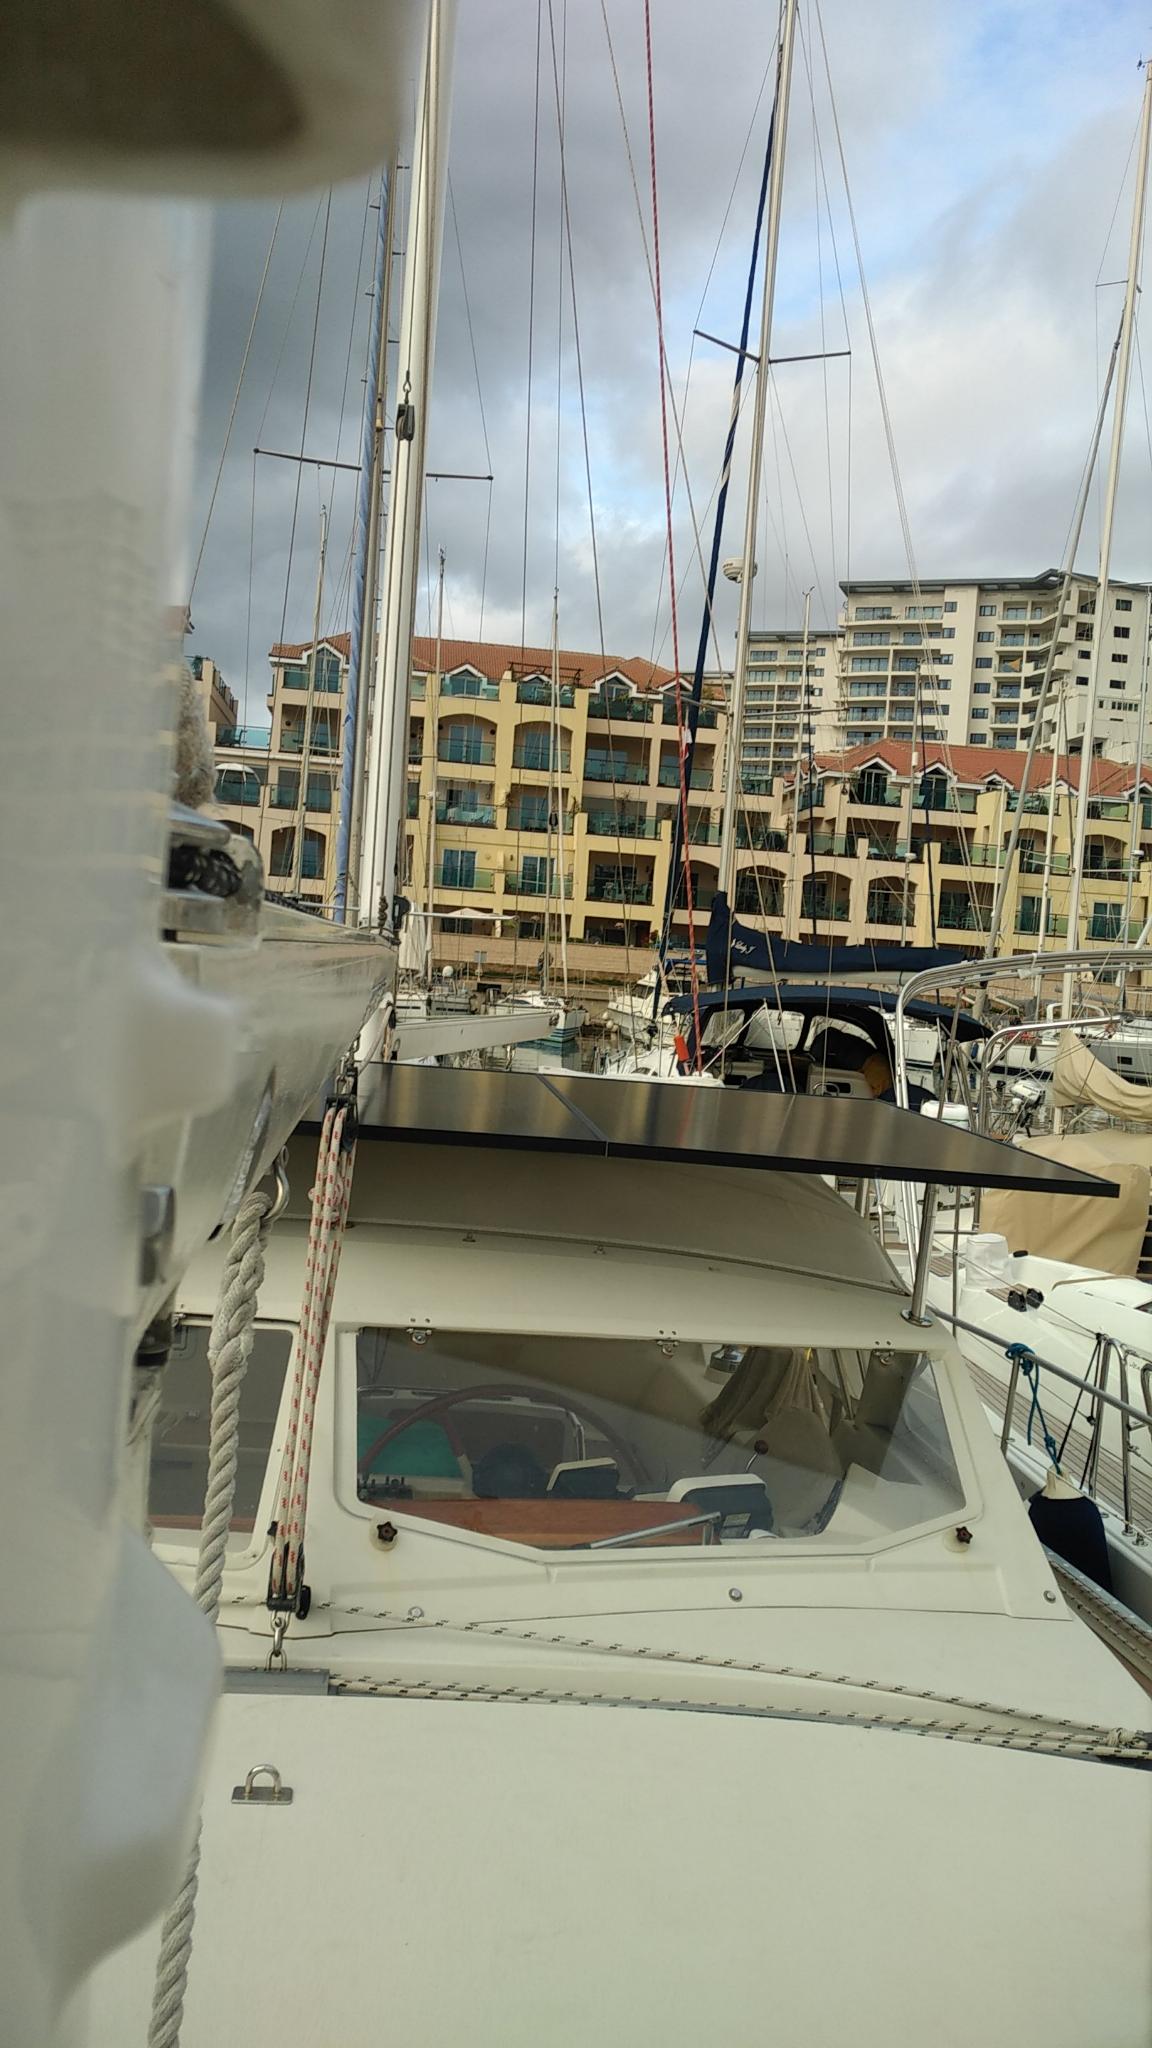
To avoid interference with the solar panels on the hard dodger the main sheet was attached to the FORWARD attachment and that is WRONG: the forward attachment is intended for the preventer ONLY.

Cracks in the boom images/boom/bo.jpg
On passage to St Helena the 6mm screws holding the central main sheet attachment in place broke. So I started using the forward attachment. That broke too in the swell...
Cracks in the boom images/boom/bo1.jpg
The local welder at the island of Saint Helena welded the most forward attachment back in place and used a piece of internal aluminium pipe to reinforce it.

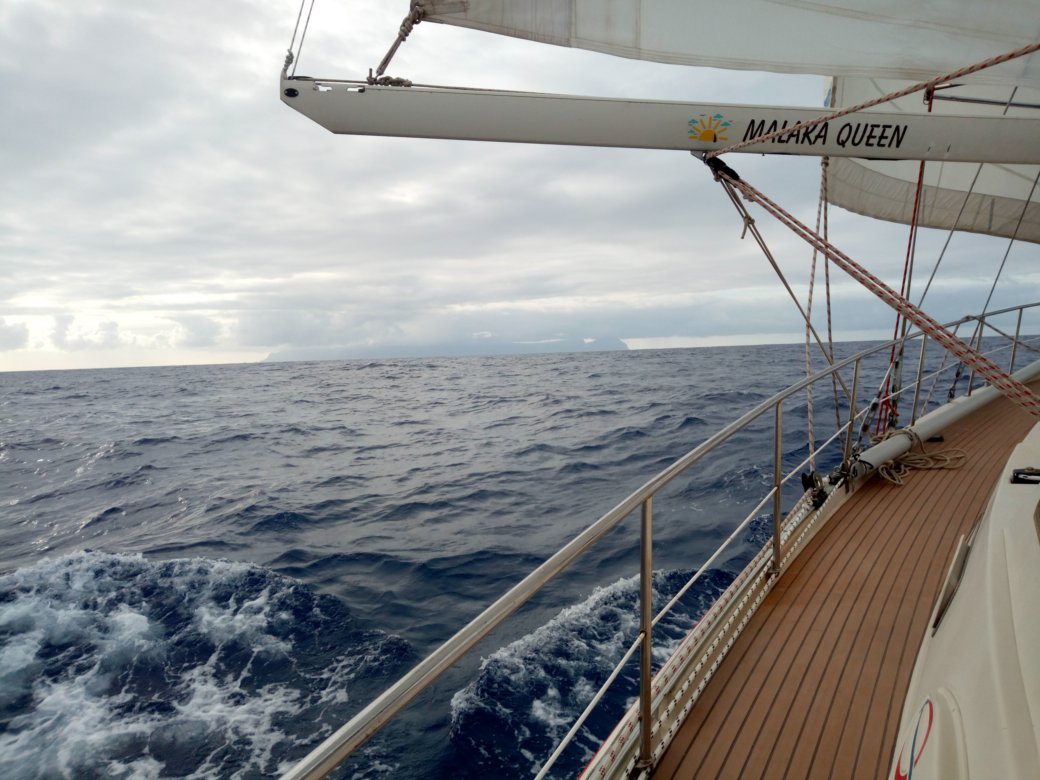
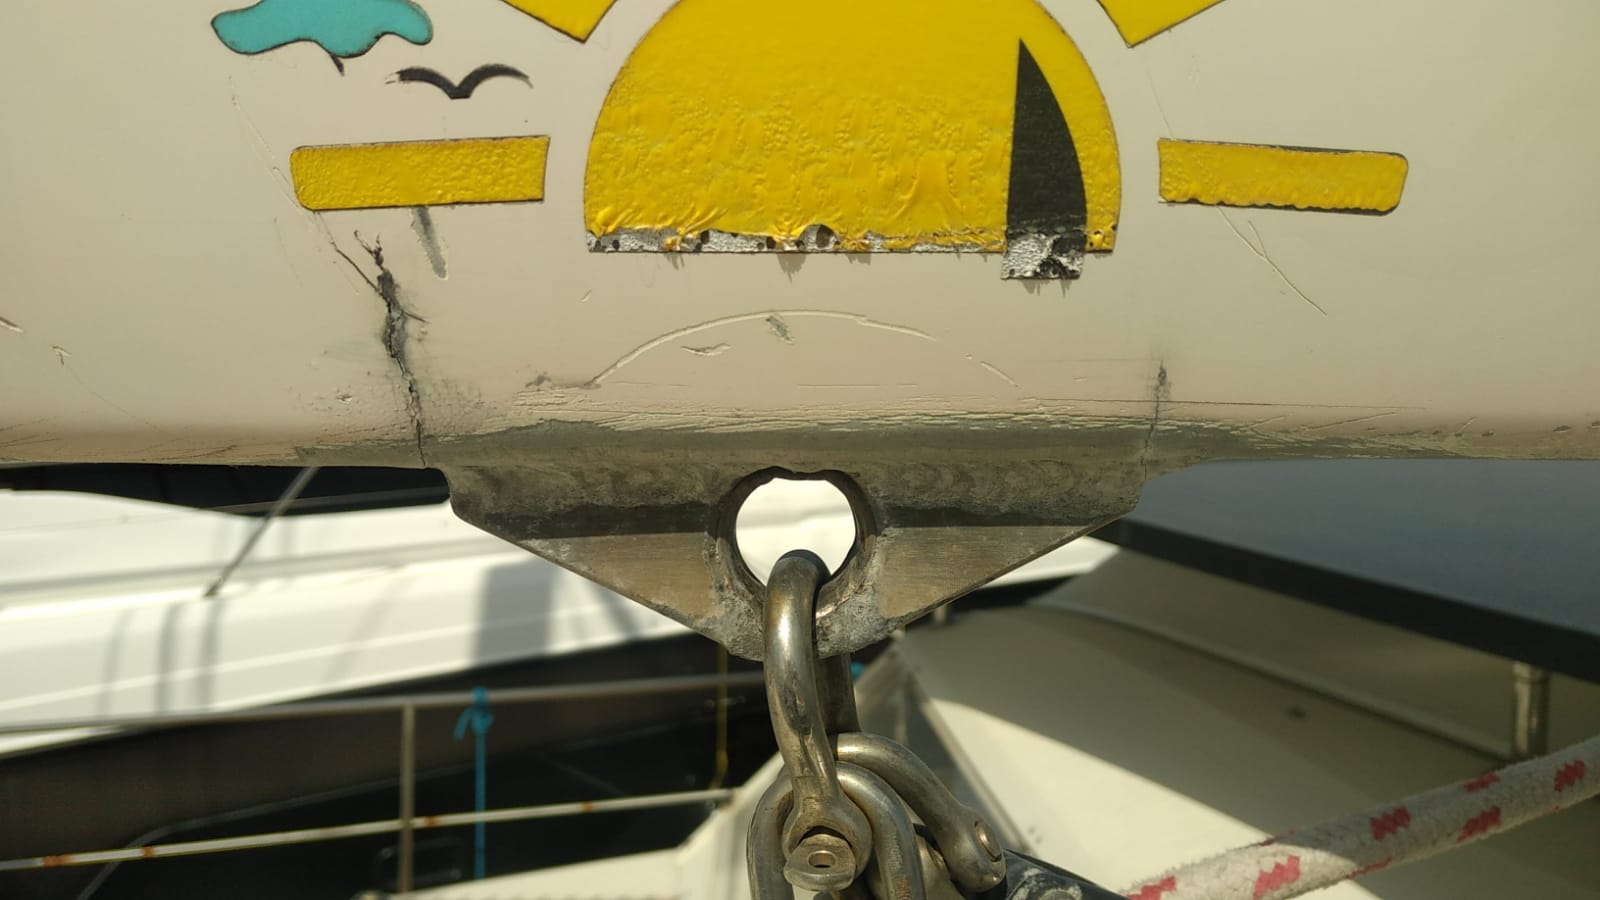
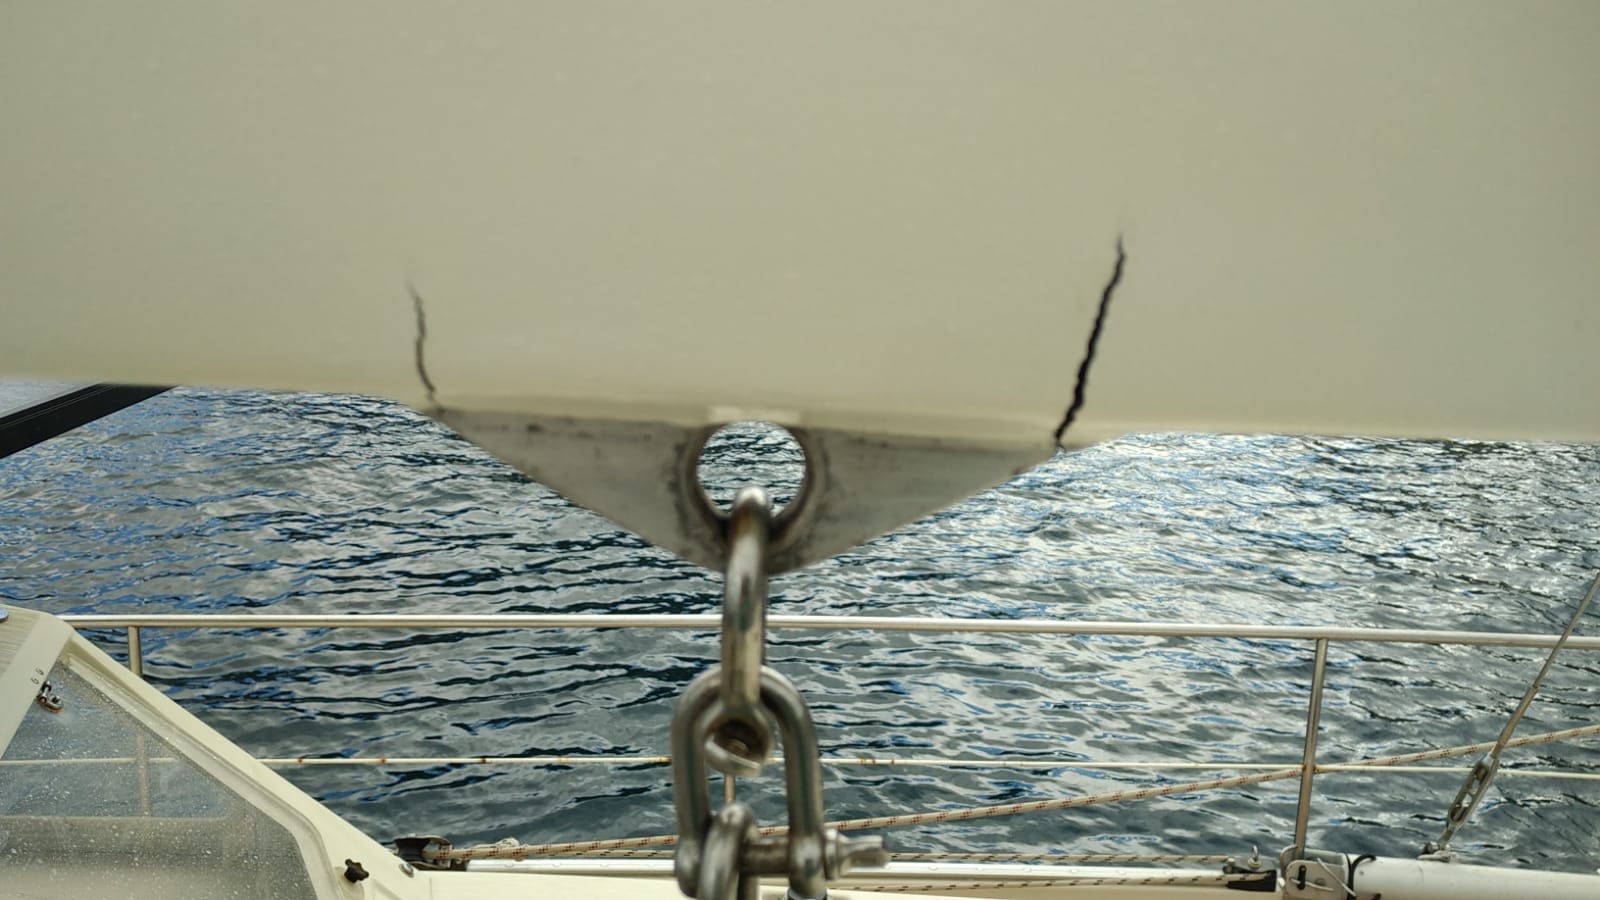
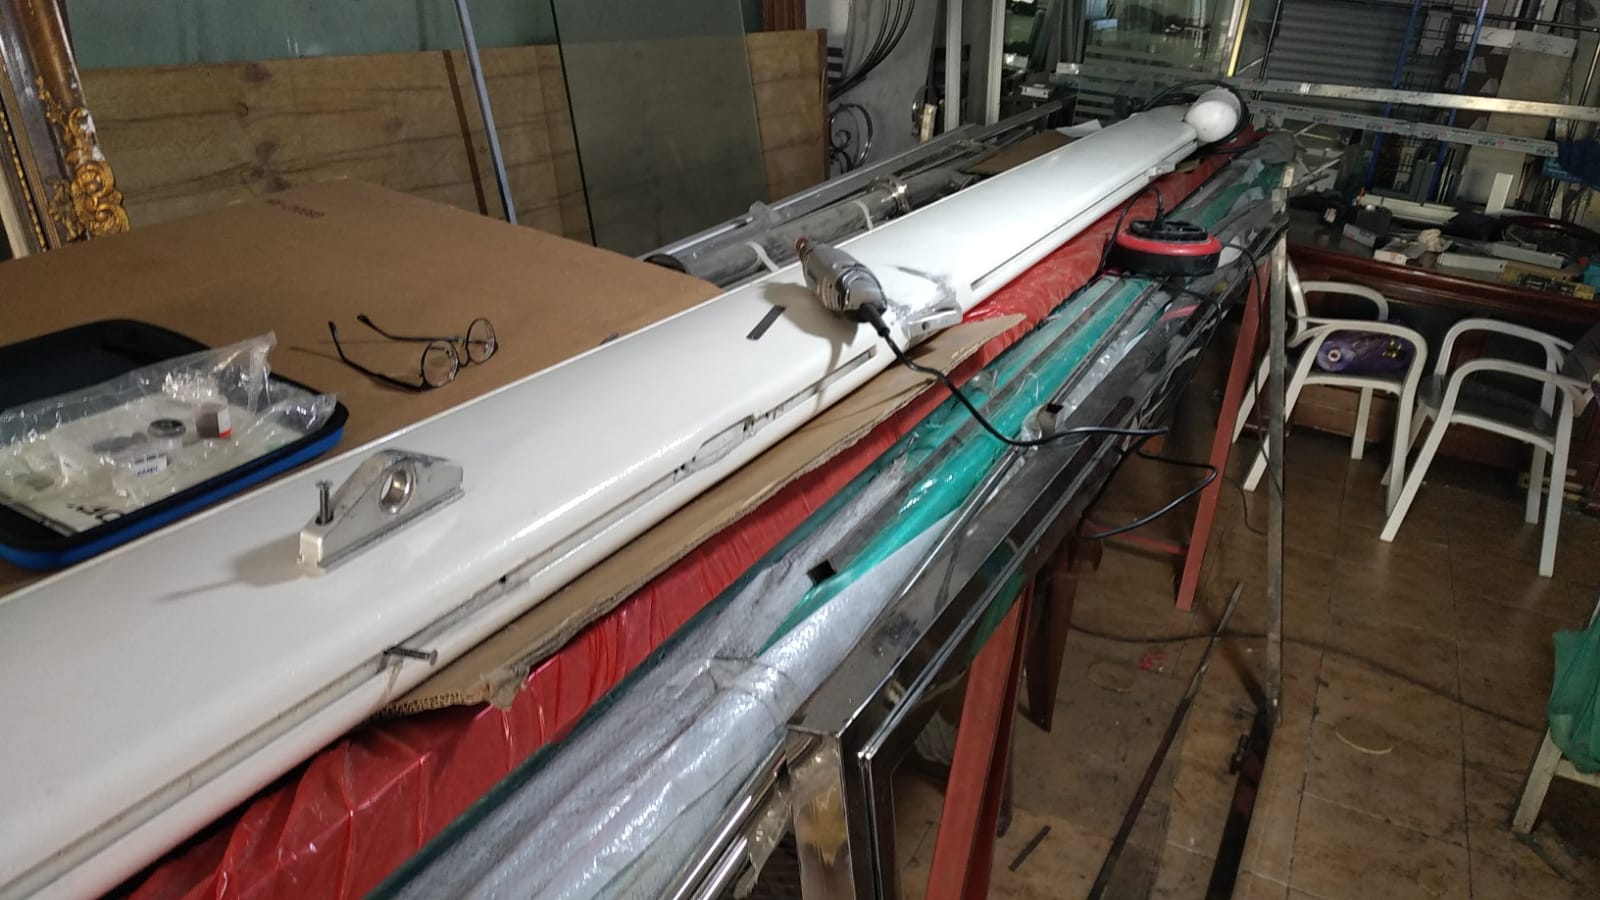
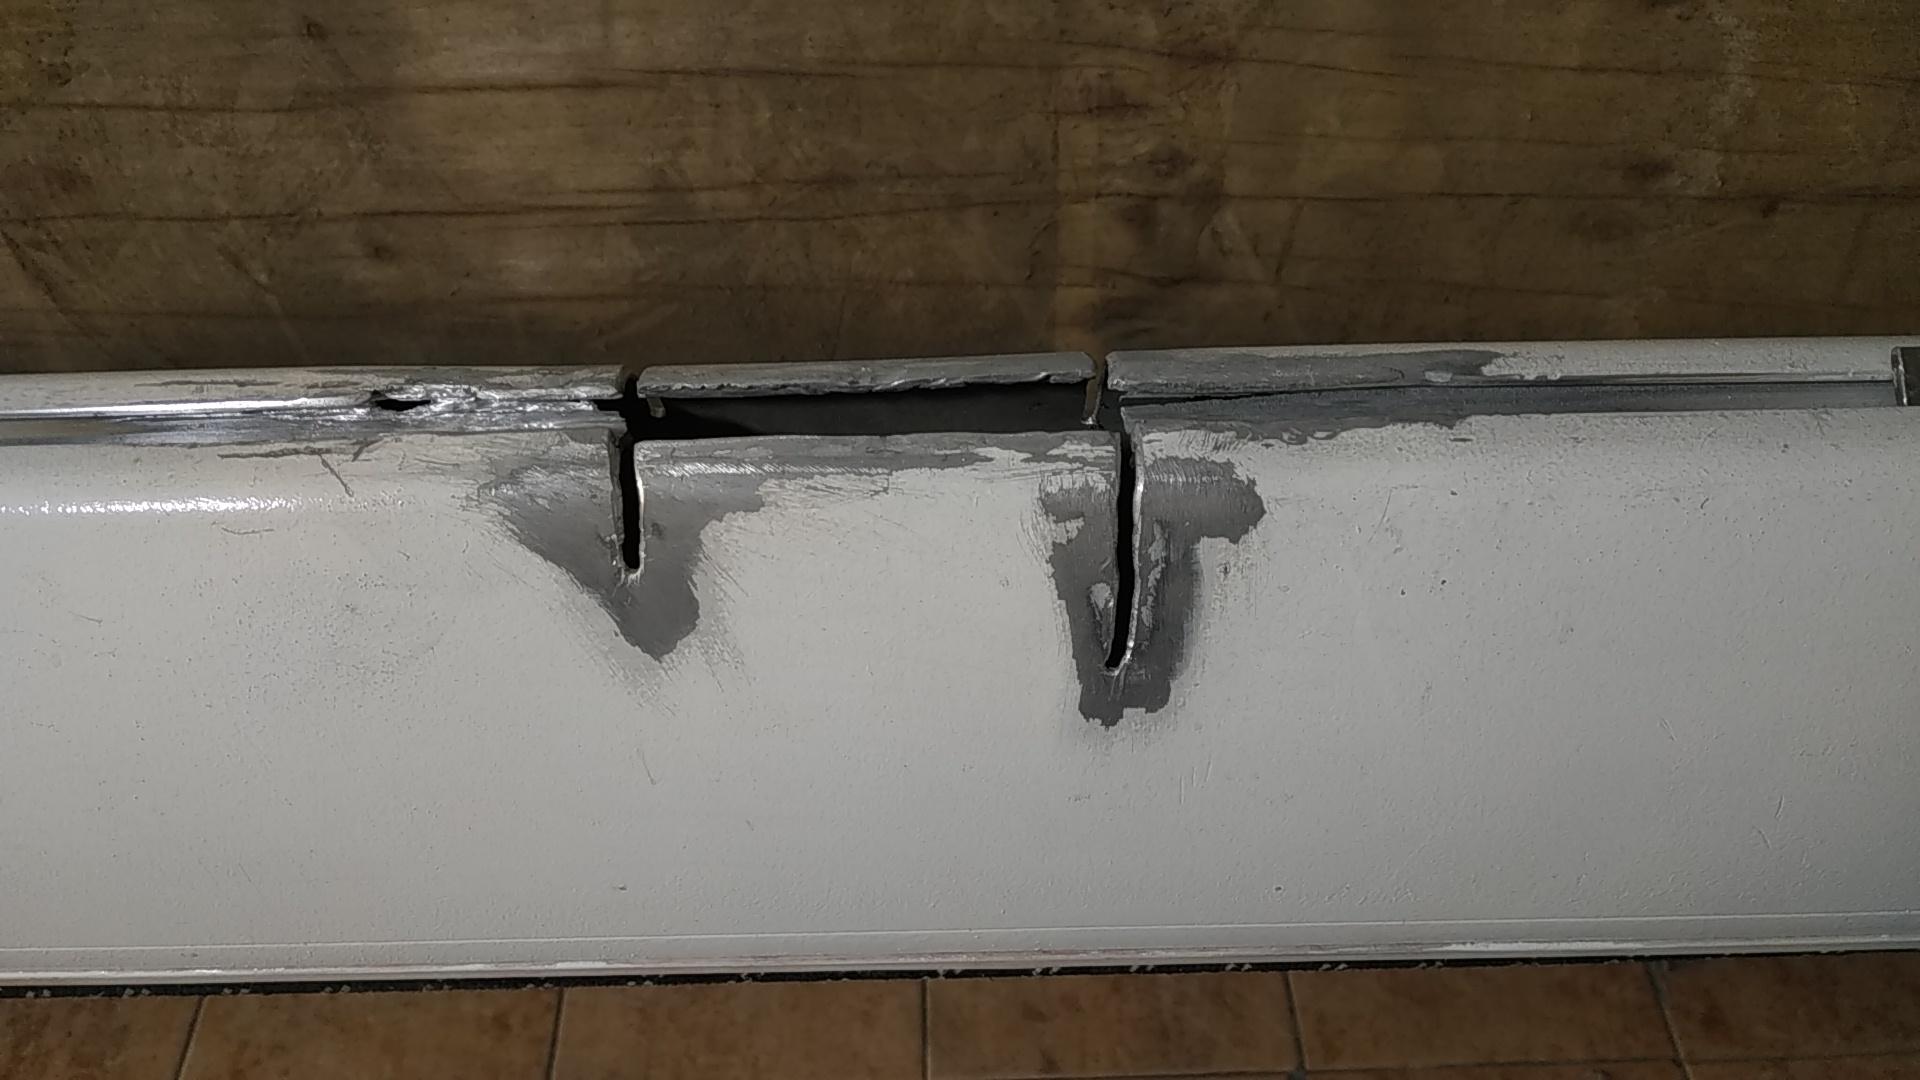
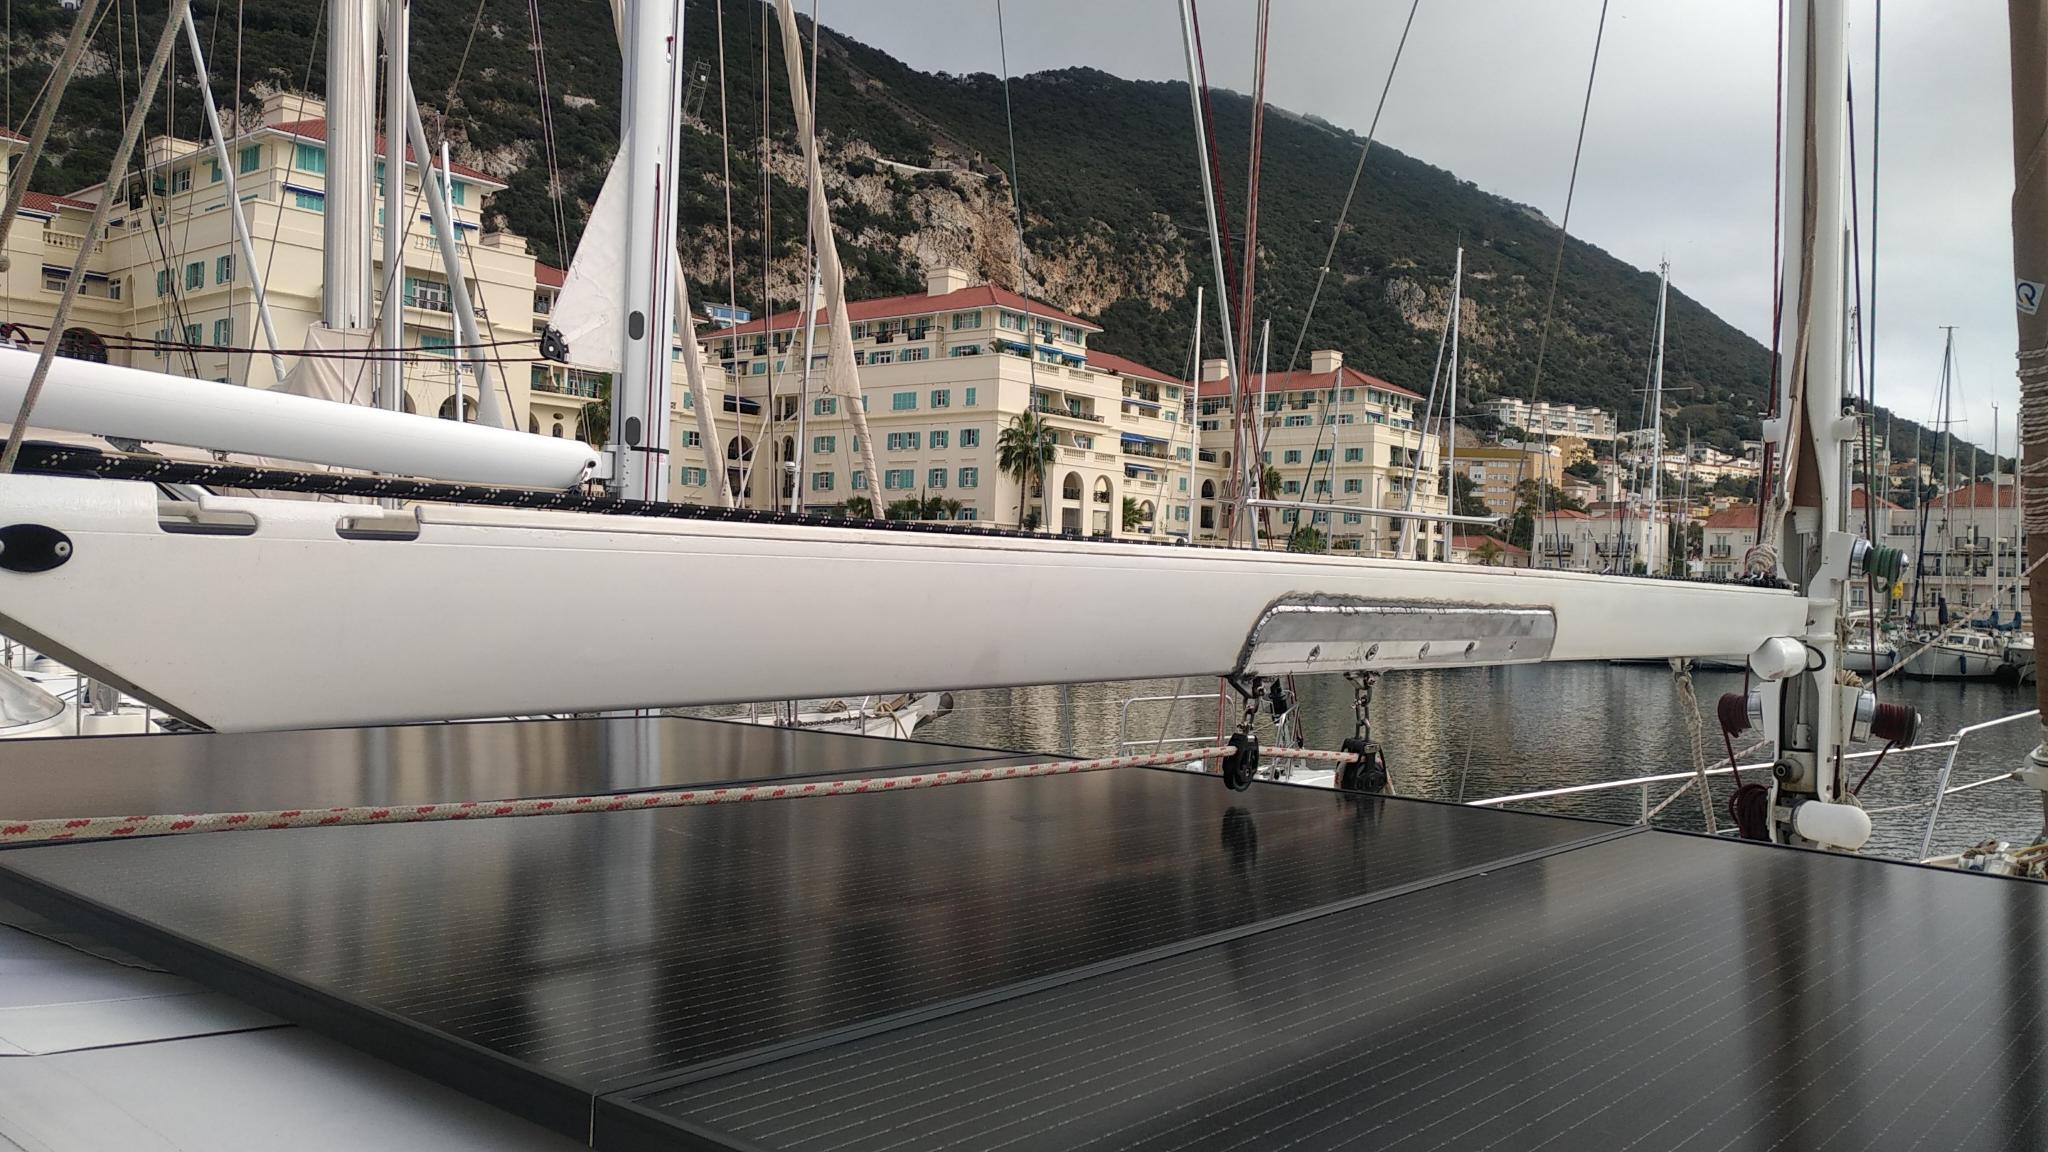
A good welding job: the repair held almost 4 years and over 20.000 miles. Cracks developed and grew slowly over time. As the middle attachment point for the main sheet was no longer there the forward attachment point was used instead, which is WRONG. But why?

Cracks in the boom images/boom/bo12.jpg
A small calculation revealed that the load on the main sheet attachment point can easily exceed 1000 kg and that using the correct main sheet attachment point is VERY important!
The calculation shows that when the attachment point is placed further aft the load on boom, attachment point and sheet is significantly less. Also, the placement of the attachment point should be more aft than half the boom length to avoid pulling the boom down and into 2 pieces…..
Cracks in the boom images/boom/bo2.jpg
It was decided to re-weld the cracks while we where enjoying Morocco
Cracks in the boom images/boom/bo18.jpg
The result looked a bit rough....
Cracks in the boom images/boom/bo3.jpg
So some filing, filling and sanding was done to make it look a bit better
Cracks in the boom images/boom/bo9.jpg
Then Stella did a wonderfull paint job
Cracks in the boom images/boom/bo4.jpg
Looks good hey!
But it would not hold for long….
Cracks in the boom images/boom/bo5.jpg
The new welds broke during a small test sail across the straits of Gibraltar. Too much heat makes aluminium brittle, or did I remove too much metal to make it look nice?
Cracks in the boom images/boom/bo17.jpg
We even had to support the poor patient....See how it bends under its own weight
Cracks in the boom images/boom/bo21.jpg
Being back in Tangiers we first tried to repair it in a local workshop

Cracks in the boom images/boom/boomshop1.jpg
Cracks in the boom images/boom/boomhop.jpg
It took me some time to realise that this repair could not be done here

Then our neighbour Mitch adviced us to go back to Queensway Gibraltar and see Pritchards Marine. They booked us in immediately.

Cracks in the boom images/2022/update/2.jpg
Very clean welding and a job well done by Pritchards Marine in Gibraltar. Of cause it needs a little paint which we will do ourselves later.
Cracks in the boom images/boom/3.jpg
The boom is straight and strong again. Big thank you to Tim and James and Louise of Pritchards Marine Gibraltar
Cracks in the boom images/boom/4.jpg
You did what others could not do, your knowledge and experience made it possible for us to continue our adventures

Let’s hope we can close this chapter now with this last repair to the boom!